# Zapier Integration
Zapier is a no-code automation platform that connects thousands of apps through workflows called Zaps. Each Zap consists of a trigger — an event in one app — followed by one or more actions that run automatically in response. By adding a webhook action to any Zap, you can forward alert data from virtually any source directly into ITOC360, without writing a single line of code.
### In ITOC360
Go to Sources, click **Create Source**, and select **Zapier** from the list. Once the source is created, copy the webhook URL and token from the source detail page — you will need these when configuring your Zap.
### In Zapier
#### Step 1 — Create a new Zap
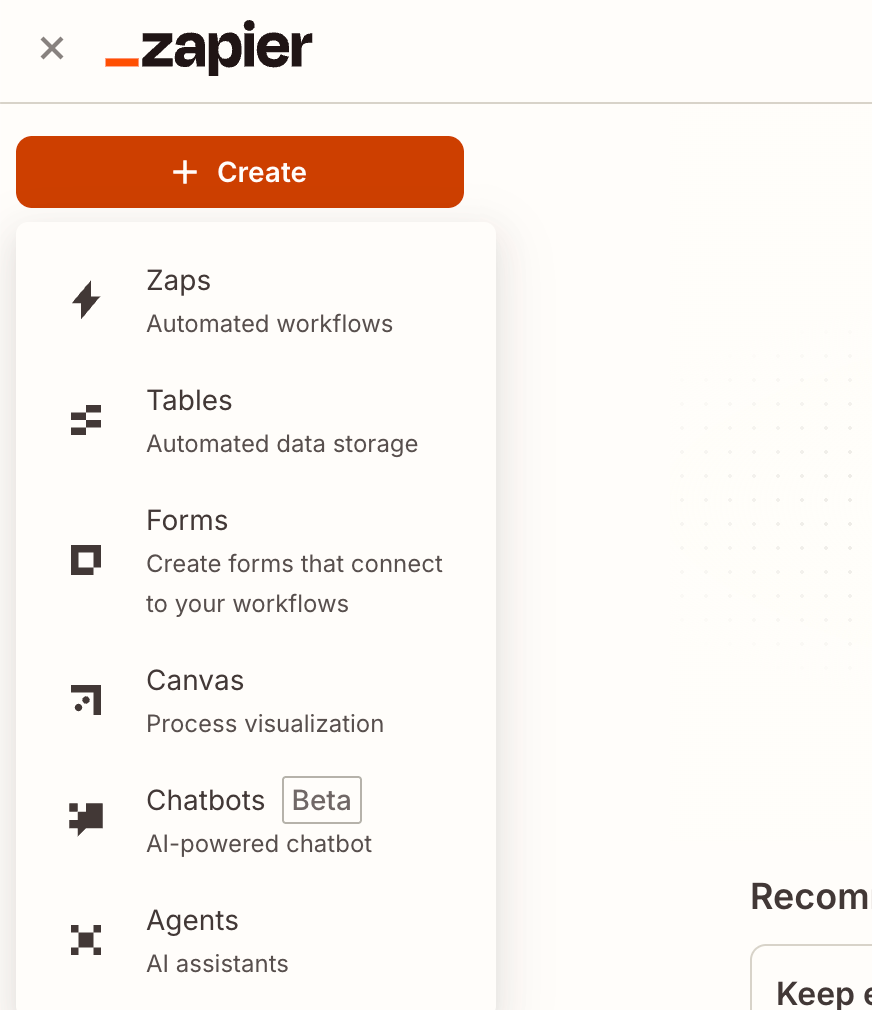
Click the **+ Create** button in the top left corner and select **Zaps** from the dropdown.\
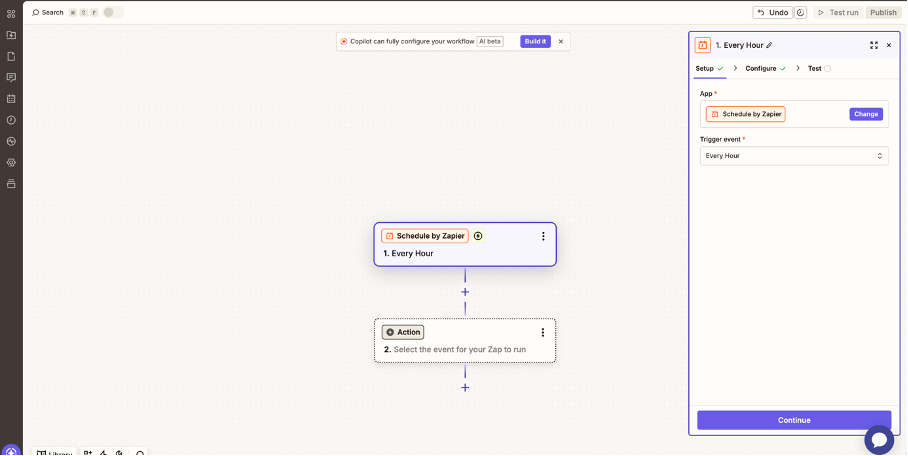
#### Step 2 — Set up your trigger
Click the **Trigger** step and choose whatever app and event makes sense for your workflow — this could be a new alert in a monitoring tool, a failed deployment, a form submission, or anything else. For testing purposes, **Schedule by Zapier** with **Every Hour** works fine.\
#### Step 3 — Add a Webhooks by Zapier action
Click the **Action** step, search for **Webhooks by Zapier**, and select **POST** as the event. In the **Configure** tab, fill in the following fields:
**URL** — paste your ITOC360 webhook URL with your source token appended:
```
https://?token=
```
**Payload Type** — select **Json**
**Data** — add the following key-value pairs, mapping values from your trigger step as needed:
| Key | Value |
| ---------- | -------------------------------------------------- |
| `title` | The alert title (e.g. from your trigger) |
| `status` | `trigger` for new alerts, `resolve` for recoveries |
| `message` | A description of what happened |
| `id` | A unique identifier for deduplication |
| `severity` | `critical`, `high`, `medium`, or `low` |
Make sure **Wrap Request In Array** is set to **No**.\
#### Step 4 — Test and publish
Click **Continue** to run a test. If ITOC360 responds successfully, your Zap is ready. Click **Publish** to activate it.\
### Notes
* The `id` field is used by ITOC360 to match an alert with its resolution. Make sure the same `id` value is sent in both the trigger and resolve payloads — without it, ITOC360 falls back to using the `title` field for deduplication.
* To resolve an alert, create a separate Zap (or add a path) that sends the same payload with `status` set to `resolve` and the same `id`.
* The `title` and `status` fields are required. All other fields are optional but recommended for richer alert context.
* Webhooks by Zapier is available on paid Zapier plans.