# MongoDB Atlas Integration
Forward database and infrastructure alerts from MongoDB Atlas directly into itoc360 to keep your on-call team in the loop whenever something goes wrong with your clusters.
### Overview
MongoDB Atlas is a fully managed cloud database platform that monitors your deployments and fires alerts when conditions cross defined thresholds — things like a host going down, replica set losing its primary, or replication lag climbing too high. These alerts can be routed to external systems via webhook, which is exactly how ITOC360 receives them.
When Atlas opens an alert, ITOC360 creates a new incident. When Atlas closes it — because the condition resolved on its own or you fixed it — ITOC360 automatically resolves the incident. No manual cleanup required.
### Step 1 — Configure the Webhook in Atlas Integrations
Every Atlas project has a single shared webhook endpoint used across all alert rules. You need to set this up before creating any alert rules.
1. In your Atlas project, open **Project Settings** (the gear icon next to the project name in the sidebar).
2. Click **Integrations** in the left menu.
3. Scroll down to the **Webhook Settings** card and click **Configure**.
The integrations page lists all the third-party services Atlas supports — Datadog, Splunk, OpsGenie, and others. The **Webhook Settings** card at the bottom right is what you need.
4. In the **Webhook Configuration** dialog, paste your ITOC360 source webhook URL into the **Webhook URL** field. Leave **Webhook Secret** blank.
5. Click **Save**.
> **Note:** Paste the full itoc360 webhook URL including the token query parameter into the Webhook URL field, for example `https:///functions/v1/integrations?token=`. Atlas does not support custom request headers on webhooks, so the token must be included in the URL itself.
***
### Step 2 — Create an Alert Rule
Now that the webhook destination is set, you can configure which conditions trigger notifications.
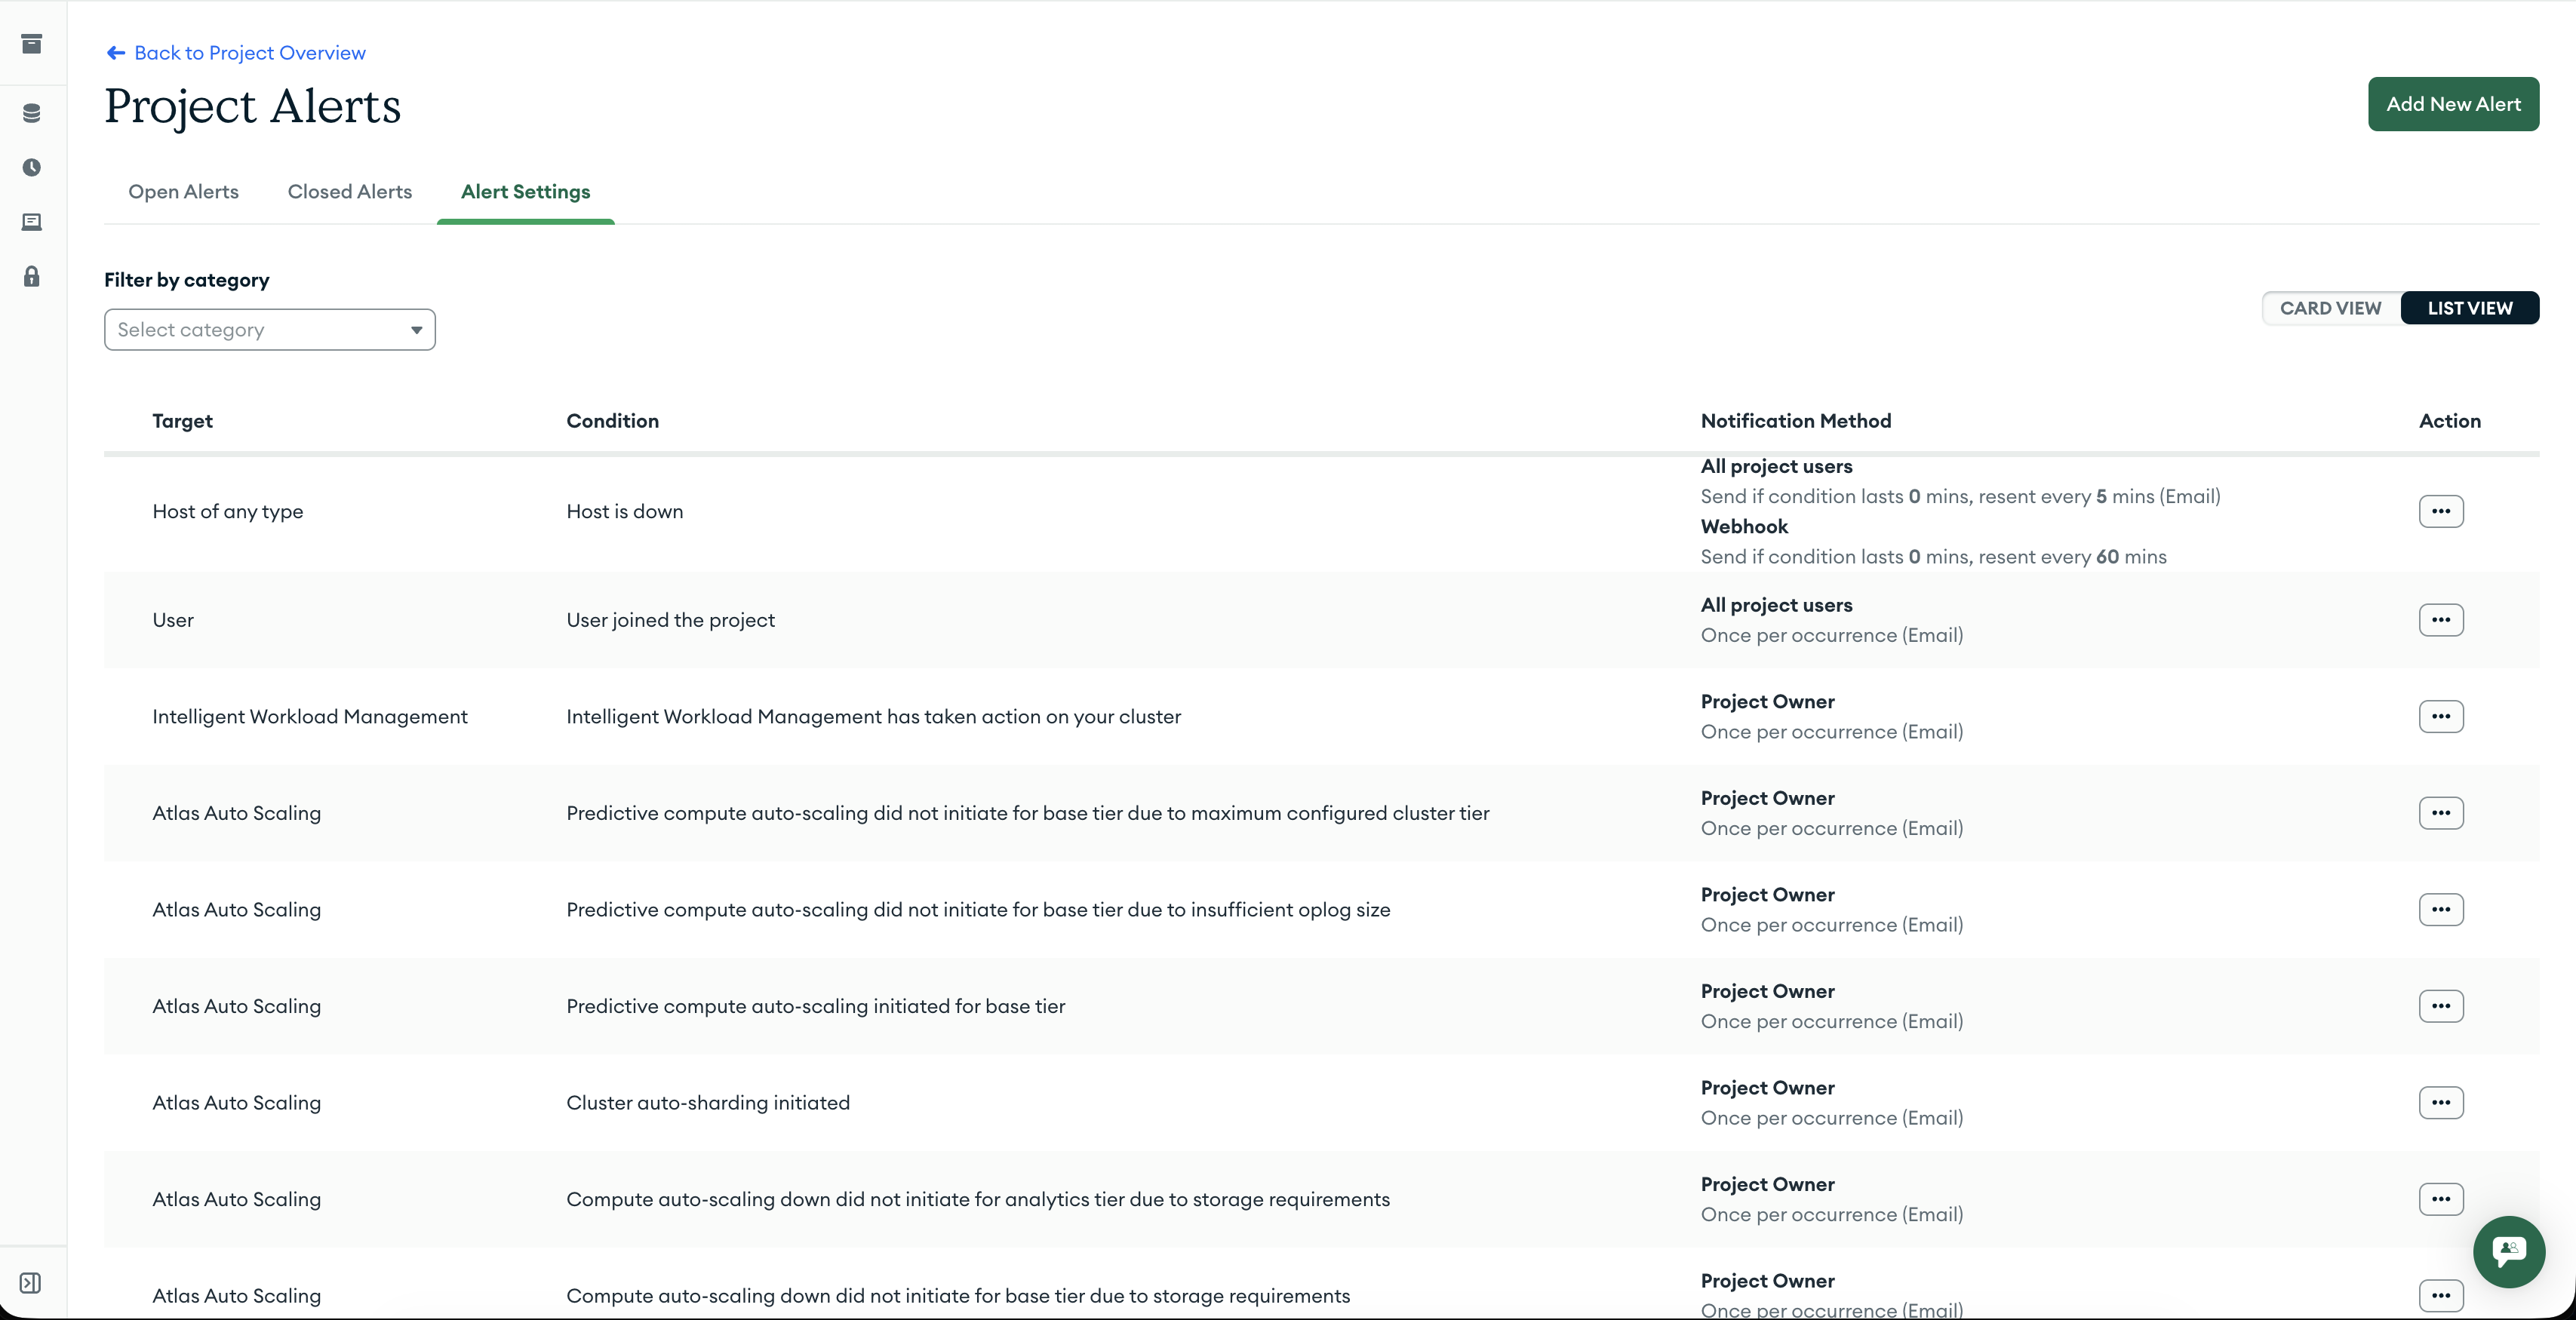
1. In the left sidebar, navigate to **Alerts** — you can also reach it by appending `#/alerts` to your project URL.
2. The **Project Alerts** page shows three tabs: Open Alerts, Closed Alerts, and Alert Settings. Click **Add New Alert** to create a new rule.
3. In the **Create a New Alert** panel, fill in the three sections:
* **Category and Condition** — pick the type of resource to monitor (Host, Replica Set, Cluster, etc.) and the specific condition that should trigger the alert. For example, `Host → Host is down` fires whenever a host in your cluster becomes unreachable.
* **Select Target** — choose **Any Host** to apply the rule to all hosts, or narrow it down with **Hosts where…** if you only want to cover a specific subset.
* **Add Notification Method** — click **Add Notifier** and select **Webhook**. The URL you configured in Step 1 will be used automatically. You can also keep the default **Atlas Project** notifier to receive email alerts alongside the webhook.
4. Click **Save**.
\
From this point on, whenever Atlas detects that the condition is met, it sends a POST request to your ITOC360 source and an incident opens. When the condition clears, Atlas sends another notification and the incident closes automatically.
### How Alerts Map to Incidents
ITOC360 reads the `status` field in the Atlas webhook payload to decide what to do:
| Atlas `status` | ITOC360 Action |
| -------------- | ----------------------------------- |
| `OPEN` | Opens a new incident |
| `CLOSED` | Resolves the corresponding incident |
The match between an open and a resolve notification is based on the `id` field — Atlas uses the same alert ID for both the trigger and the resolution, so ITOC360 always closes the right incident.
### Priority Mapping
ITOC360 uses the `typeName` field to determine incident priority:
| Atlas `typeName` | ITOC360 Priority |
| ---------------- | ---------------- |
| `CLUSTER` | Critical |
| `HOST` | High |
| `REPLICA_SET` | High |
| `AGENT` | Medium |
To customize these mappings per source, go to **Sources → Edit → Priority Mapping**.
### Troubleshooting
**Webhook fires but no incident appears in** ITOC360
Check logs for validation errors. Confirm that the webhook URL in Atlas matches exactly what is shown on your ITOC360 source page, token included. A mismatch in a single character will return a 401 or 404.
**Alert opens but never resolves automatically**
Atlas sends a `CLOSED` notification only when the underlying condition actually resolves — for example, when a downed host comes back online. If the host stays down, the alert stays open. You can manually resolve it in ITOC360 in the meantime.
**Only one webhook URL allowed per project**
If you need to route different alert types to different ITOC360 sources, the cleanest approach is to create separate Atlas projects and configure each one with its own webhook URL.