# InfluxDB Integration
InfluxDB is a high-performance time series database purpose-built for storing metrics, events, and real-time analytics. Its built-in Checks & Notifications system lets you define threshold conditions on your time series data and push alert notifications directly to external HTTP endpoints — making it straightforward to route those alerts into ITOC360.
### In ITOC360
Go to Sources, click **Create Source**, and select **InfluxDB** from the list. Once the source is created, copy the webhook URL and token from the source detail page — you will need these when configuring InfluxDB.
### In InfluxDB
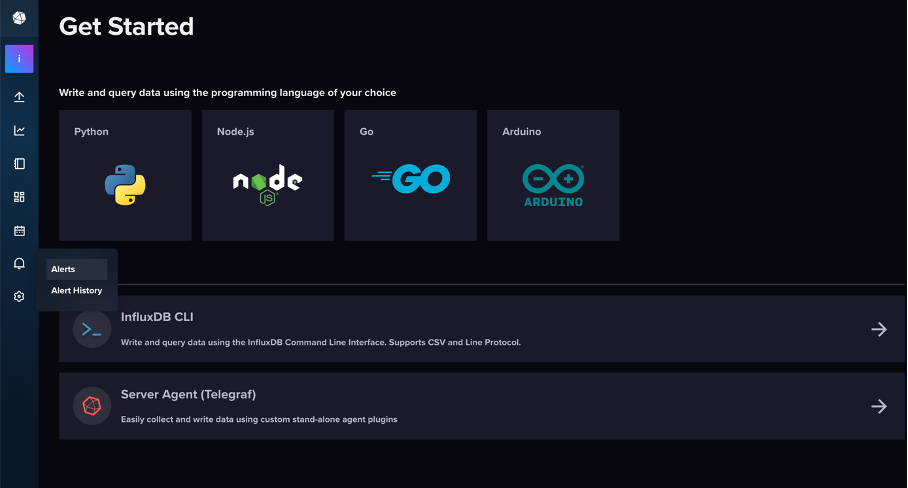
In the left sidebar, hover over the bell icon to expand the navigation and click **Alerts**.
#### Step 1 — Create a Notification Endpoint
On the Alerts page, click **Notification Endpoints**, then click **+ Create** in the top right corner.
From the **Destination** dropdown, select **HTTP** and give the endpoint a name. Under **HTTP Options**, make sure the method is set to **POST** and the auth method is **none**. Paste your ITOC360 webhook URL into the URL field, appending your source token as a query parameter:
```
https://?token=
```
Click **Create Notification Endpoint** to save.
#### Step 2 — Create a Check
Click the **Checks** tab on the Alerts page, then click **+ Create** and select **Threshold Check**.
In the query builder, select your bucket from the **FROM** column, choose a measurement, and select the field you want to monitor. Click **Submit** to preview the data on the chart.
Switch to the **2. Configure Check** tab. In the **Thresholds** section on the right, click **+ CRIT** and enter the value above which the check should fire as critical. You can optionally add a **WARN** threshold for a lower severity level. Give the check a descriptive name at the top, then click the checkmark button in the top right corner to save.\
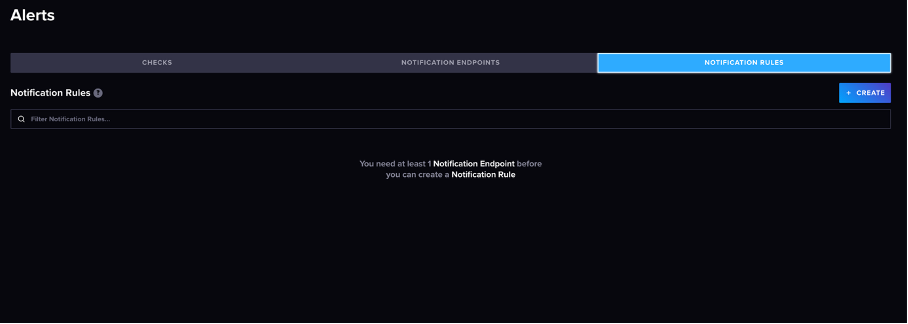
#### Step 3 — Create Notification Rules
Click the **Notification Rules** tab. InfluxDB requires a separate rule for each status level, so you will need to create two rules — one for when the check fires and one for when it recovers.
Click **+ Create**. Give the rule a name and set the condition to `When status is equal to CRIT`. Under **Notification Endpoint**, select the endpoint you created in Step 1. Click **Create Notification Rule** to save.\
Then create a second rule in the same way, this time setting the condition to `When status is equal to OK` and selecting the same endpoint. This second rule is what allows itoc360 to automatically resolve alerts when your metric returns to normal.
### Notes
* InfluxDB runs notification rules on a schedule (default: every 1 minute). There may be a short delay between a threshold breach and the alert appearing in ITOC360.
* The CRIT rule and the OK rule must point to the same notification endpoint so that ITOC360 can correctly match each alert to its resolution.
* If you have multiple checks, each one should have its own pair of notification rules.